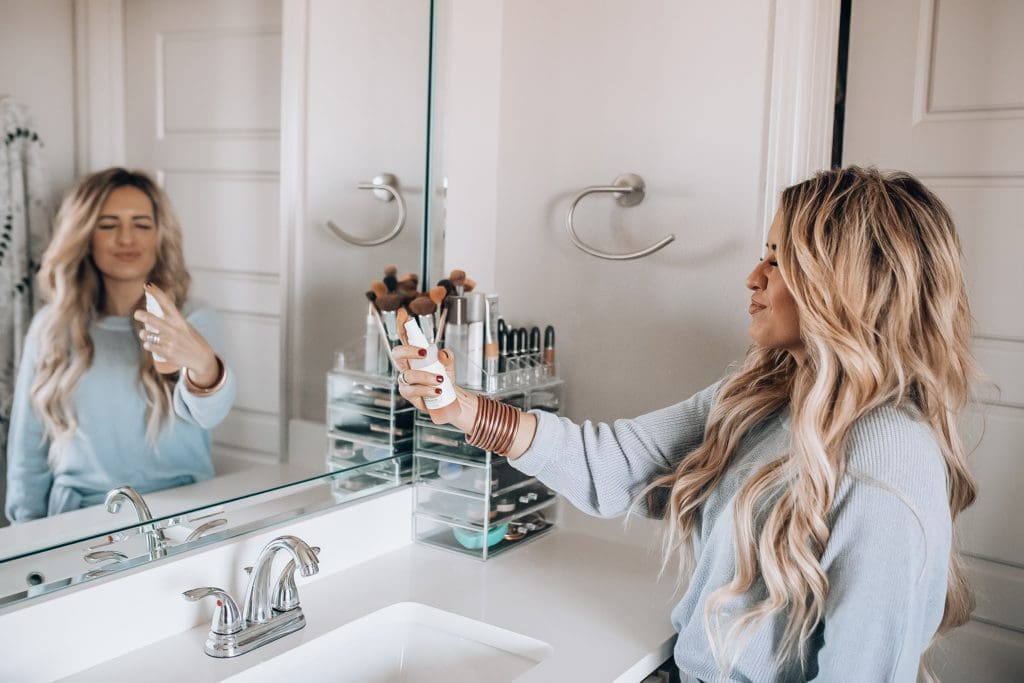
I have had a large request for this, so I am so sorry I am just getting around to sharing! I also have a video on my INSTAGRAM story saved that you can refer to for a “LIVE” how to!
Disclaimer- I am NO PRO! I actually try to keep a more “natural” look for the everyday go to, I can usually do my whole face in about 7-1omin. For date nights, events, and other things I typically take more time and do a more drastic look. I’ll share what I do everyday and what I add in on the special occasions.
Feel free to message me any questions. I will also be updating this as I try out some new products I have coming in. AND please send me any recommendations you have or products you just can’t live without! I love finding new products and trying them out!
SO here we go… (UPDATED)
- The first thing I do every day is was my face, you can see that whole process here… SKINCARE ROUTINE.
- I use one of these EXFOLIATING PADS next! I LOVE these! They almost have a light tingle factor in them that I feel really wakes your face up!
- I have been using this PRIMER now for a few weeks and it is a GAME CHANGER! Feels like butter! I have always been weird about primers due to my combo skin, but this one is PERFECT! I have noticed a huge difference in how my foundation goes on!
- Then I would apply my foundation. I have two I rotate between. I use this CC CREAM on days I don’t need as much coverage or just want a “lighter” feeling look. I use the DOUBLEWEAR on days I want more coverage, I LOVE both of these because you get full coverage with both BUT don’t feel like your face is heavy! I use a damp BEAUTY BLENDER to apply both. **Just got a sample of this FOUNDATION to try after reading amazing reviews!
- ***NEW UNDER EYE REGIMEN thanks to COURTNEY SHIELDS
- Apply BRIGHTENING CORRECTOR– I use my pinky to dab on then take my damp beauty blender to blend in.
- CONCEALER– I seriously don’t think I will ever use another! OBSESSED with this and so glad I tried it! Make an upside down triangle under your eye, use damp beauty blender to blend.
- SHAPE TAPE– apply just a little bit in the corner of your eye to add extra brightening and then blend with damp beauty blender.
- SETTING POWDER– GAME CHANGER! HIGHLY recommend this! I apply with damp beauty blender to set the work I did under my eyes, helps mascara to not run under your eye as well! Forever a fan!
- From there I do my contouring. I typically do the “3 Technique” (Go watch my story to see it LIVE) Basically you take the “darker” shade and outline your hairline, below your cheekbone, under your jawline, and then I go down the sides of my nose to make it look slimmer. I then take the lighter shade and go down the center of my nose, right above my upper lip, and on my chin. Here is the CONTOUR PALETTE I use currently. I honestly will get this PALETTE next, because it’s cheaper and I don’t use any of the creams in the current one I have. SO I would recommend that one instead. I’ve been using this CONTOURING BRUSH now for the last week and I love that you get two sizes on one brush, helps with traveling! I then use my damp BEAUTY BLENDER to make sure there are no harsh lines.
- I like to even everything out with my favorite HOLY GRAIL POWDER been using this for YEARS! I use my danmp BEAUTY BLENDER to apply the powder really just on my T-Zone. It just helps to even everything out and get a smooth look, can apply all over face if desired.
- HIGHLIGHTER TIME! I LOVE this palette because it can also work as a gorgeous eye shadow combo! PLUS- if you get darker with the summer sun you can change out what shade you’re using! Have had it for over a year too and still got plenty of life in it! I use a FAN BRUSH to apply it. I take it right above my cheek bone, right above the tail of my eyebrow, down the bridge of my nose, and right above my upper lip (gives off the illusion its bigger)
- BLUSH– Color “Rebel Rose” is my absolute FAVE for year round! It’s this beautiful natural looking color! SO good! Any BLUSH BRUSH should work fine.
- I have my eyebrows done, so I honestly don’t do much to them. I do tend to get foundation and powder on them, so I really like this PENCIL/BRUSH DUO to just quickly clean them up and darken them up. I also LOVE the BENEFIT BROW GEL, they discontinued it for awhile, so I was pumped to see they improved it and brought it back!
- As far as liner I actually only do my waterline, I wouldn’t recommend this if you have a smaller eye shape. Mine are pretty big so I can get away with it, but it can make your eyes look smaller, so if you have a smaller eye shape try lining your waterline with a skin tone liner to make them pop. I am constantly trying new liners for my waterline because I feel like a TON of them are not really “water proof” here are some of my current favorites URBAN DECAY– LOVE it just hate sharpening it. ESTEE LAUDER– Using this one currently and it’s GOOD! NEUTROGENA LINER– FAVE drugstore option I have found!
- I have eyelash extensions on the top, so I only use mascara on the bottom. My two current faves are URBAN DECAY & the best DRUGSTORE OPTION that I would honestly pick over any name brand! I have used this since high school!
- Lips- I have become a Lipstick/gloss junkie this past year! So my current favorite liner is this MAC LINER & I rotate between the colors “SPICE” & “WHIRL” if you’re going to start with one I would say go with “WHIRL” for Spring/Summer! “SPICE” would be good for now too, but I just love how the “WHIRL” has more of a mauve tone. I currently am filling them in with this MATTE LIQUID COLOR Y’ALL… I could write a whole post on how much I LOVE this gloss! I kid you not I can put it on at 8AM and not have to retouch it one single time. It’s the best gloss I have ever used!! BUT I think a lot of that comes from having hydrated lips, I sleep in this LIP MASK every single night! It has been a game-changer for me! I live in West TX so my lips have seriously been dry my whole life, until a few months ago when I started sleeping in that lip mask! GET IT! If I don’t use the gloss above I also LOVE this TARTE LIPSTICK in the shades “RUM PUNCH” & “SALT LYFE” – I rotate between both!
- I just started using this SETTING POWDER & POWDER BRUSH. Always finish with a few spritz of this SETTING SPRAY.
BIGGEST TIP I HAVE LEARNED- A damp beauty blender is key! Makes a HUGE difference!
That’s what I do everyday, I know it seems long, but I promise it takes me 10min at the most!
For special occasions I’ll go heavier and spend more time and I also add in eyeshadow. I’ll link my favorite palettes below!
I don’t really do color, I tend to stick to the neutral tones when it comes to eyeshadow. If I do any kind of color its in the purple/mauve tones, I just like those best with my brown eyes.

**RANDOM FAVORITES**
- ACRYLIC MAKEUP CASE – (What I store all my makeup in)
- MAKEUP TRAVEL CASE – Have had this for over a year! Fits everything I need when we travel! Under $20!
- BRUSH CLEANING PADS– Just use baby soap.
- BEAUTY BLENDER CLEANER– Just ordered this!
- BEAUTY BLENDER HOLDER– Because these are just cute!
Make sure to check out my INSTAGRAM highlight video to see how to do all of the above. And as always please send me any questions you have! And don’t forget I am just a Momma of four trying to make it, so take all this for what it’s worth. HA!


